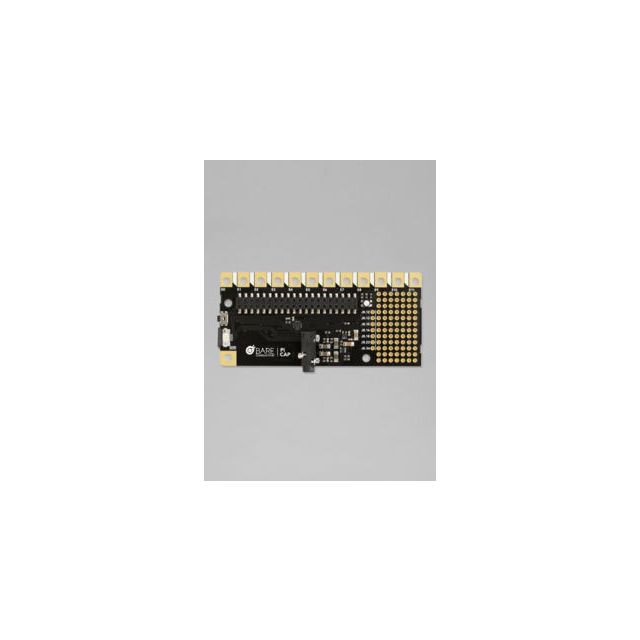
The Pi Cap adds precise capacitive touch, proximity sensing and high quality audio to your Raspberry Pi.
Connect your Pi project to the physical world. Create sensors by connecting Electric Paint or anything conductive to one of the Pi Cap’s 12 electrodes to control audio, video or connect to the internet. Make a MIDI piano, an interactive wall, a proximity sensor — you decide. Our Raspbian package contains code examples for C++, Python and Node.js.
• Capacitive touch and distance sensing
• High quality audio output
• Tutorials to help you get started
• User-programmable RGB LED
• Multi function button
• Prototyping area with GPIO breakout
• Compatible with Raspberry Pi A+, B+, Zero (or any Pi with 40 pin GPIO connector)
• Powerful C++, Python and Node.js libraries and examples
Works with:
Crocodile clips, copper tape, solder and e‐textiles. Use with Electric Paint to design your own sensors
LEVEL: Beginner to Expert Engineer
Getting started with the Pi Cap
We have worked hard to make setting up your Pi Cap as straightforward as possible, whether you’re using a Pi Zero, Raspberry Pi 1 A+/B+, Raspberry Pi 2 or Raspberry Pi 3 our easy-to-follow instructions should help you get started.
Setting up with Raspberry Pi, A+/B+, 2 and 3
Setting up with Pi Zero

Resources
In you’re wondering what the Pi Cap can do or what model Raspberry Pi you should use, we’ve created a series of resources which should answer your questions. If you want to know what the pins on the PCB are for, or whether you should use a Touch Board or Pi Cap in your project. Make sure to check out our Pi Cap guides.
Pi Cap Technical Data Sheet
Pi Cap pin map
Pi Cap Raspberry Pi Guide

Pi Cap Projects
The Pi Cap can be used for capacitive touch or distance sensing. Whether you want to keep it plugged in to a screen or make it a self-standing wearable, there’s loads of opportunities with this tiny and powerful add-on.
Pi Cap Capong Project Tutorial
Unleashing #PugProse with the Pi Cap


